

INSTRUCTION / 01CableRail
 Built to work.


A1 · Adhesive
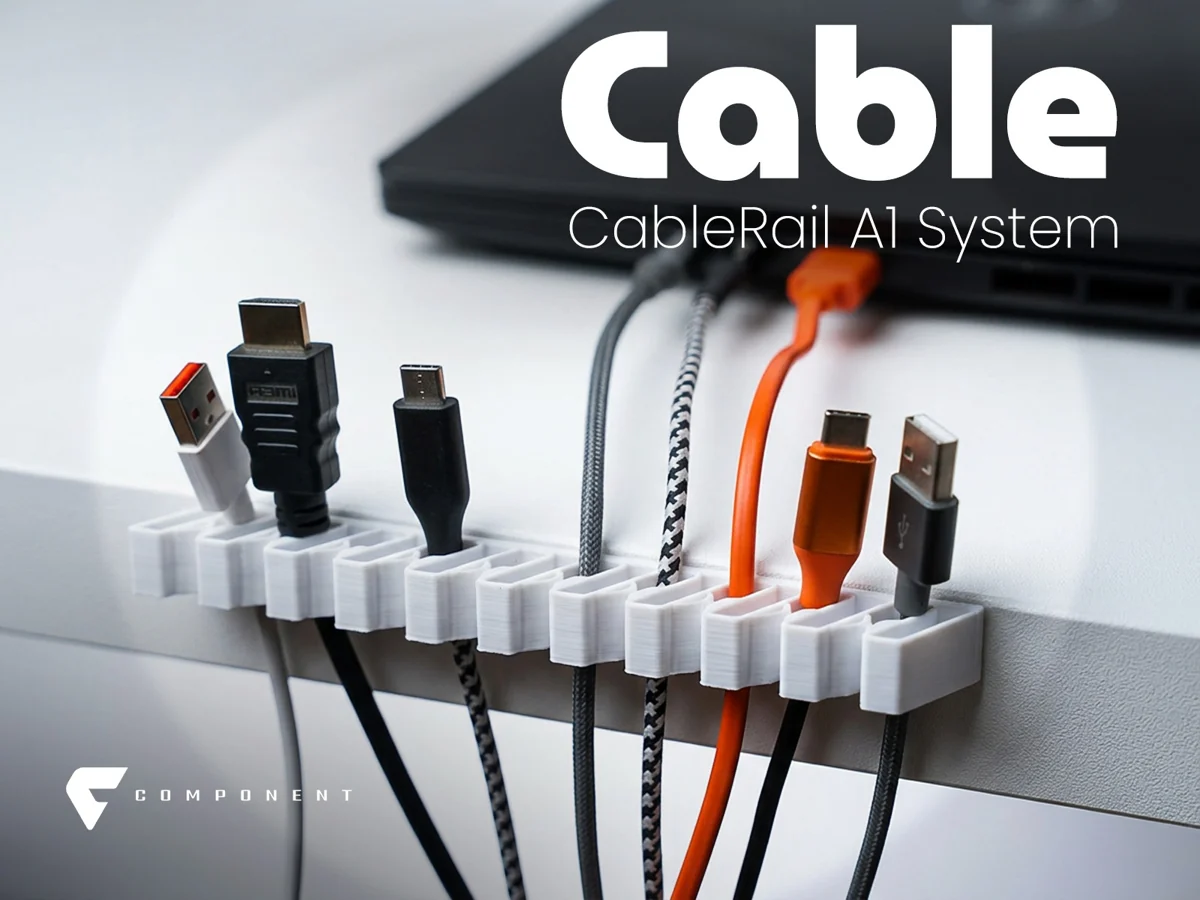
Keep cable ends where you can find them. An adhesive rail for one cable or a whole desk setup.
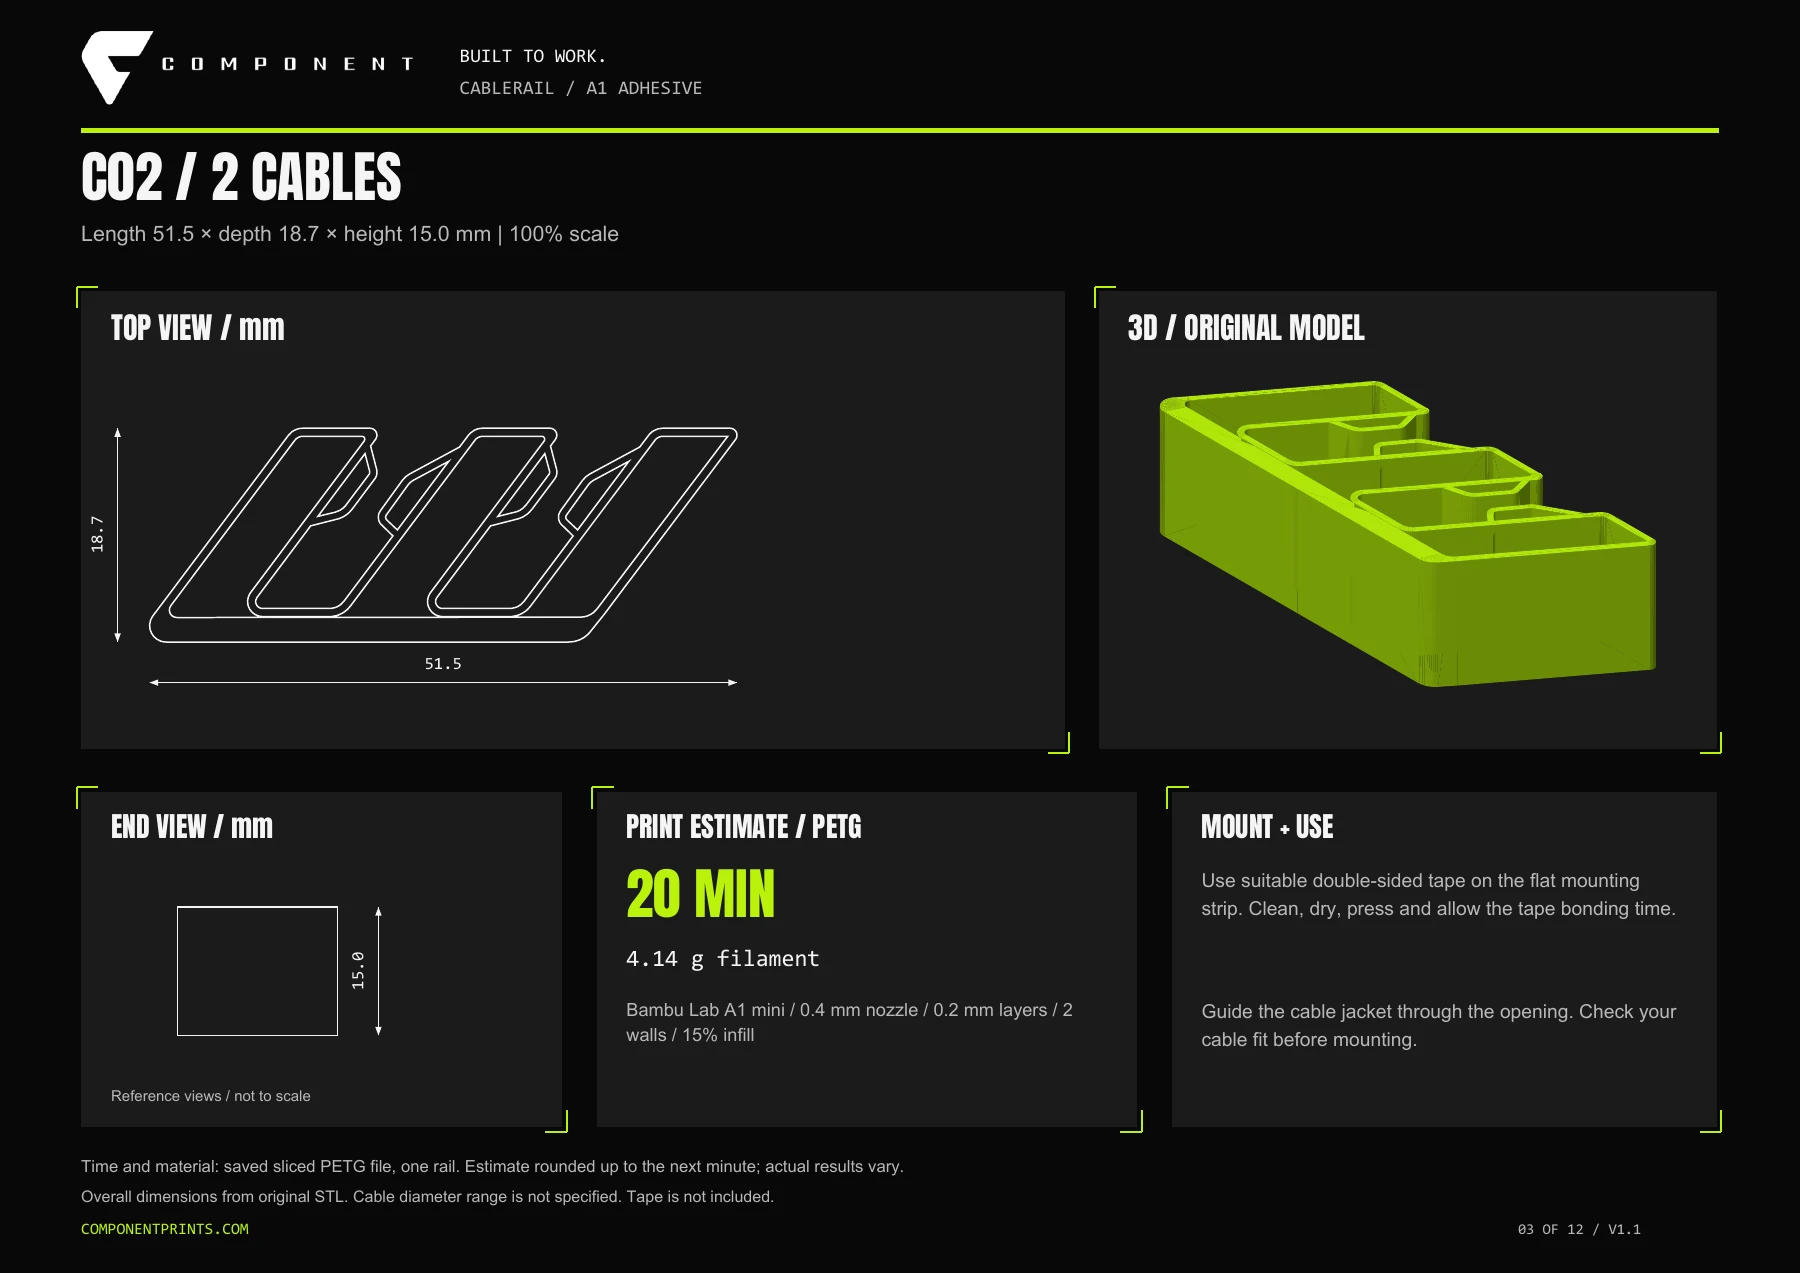
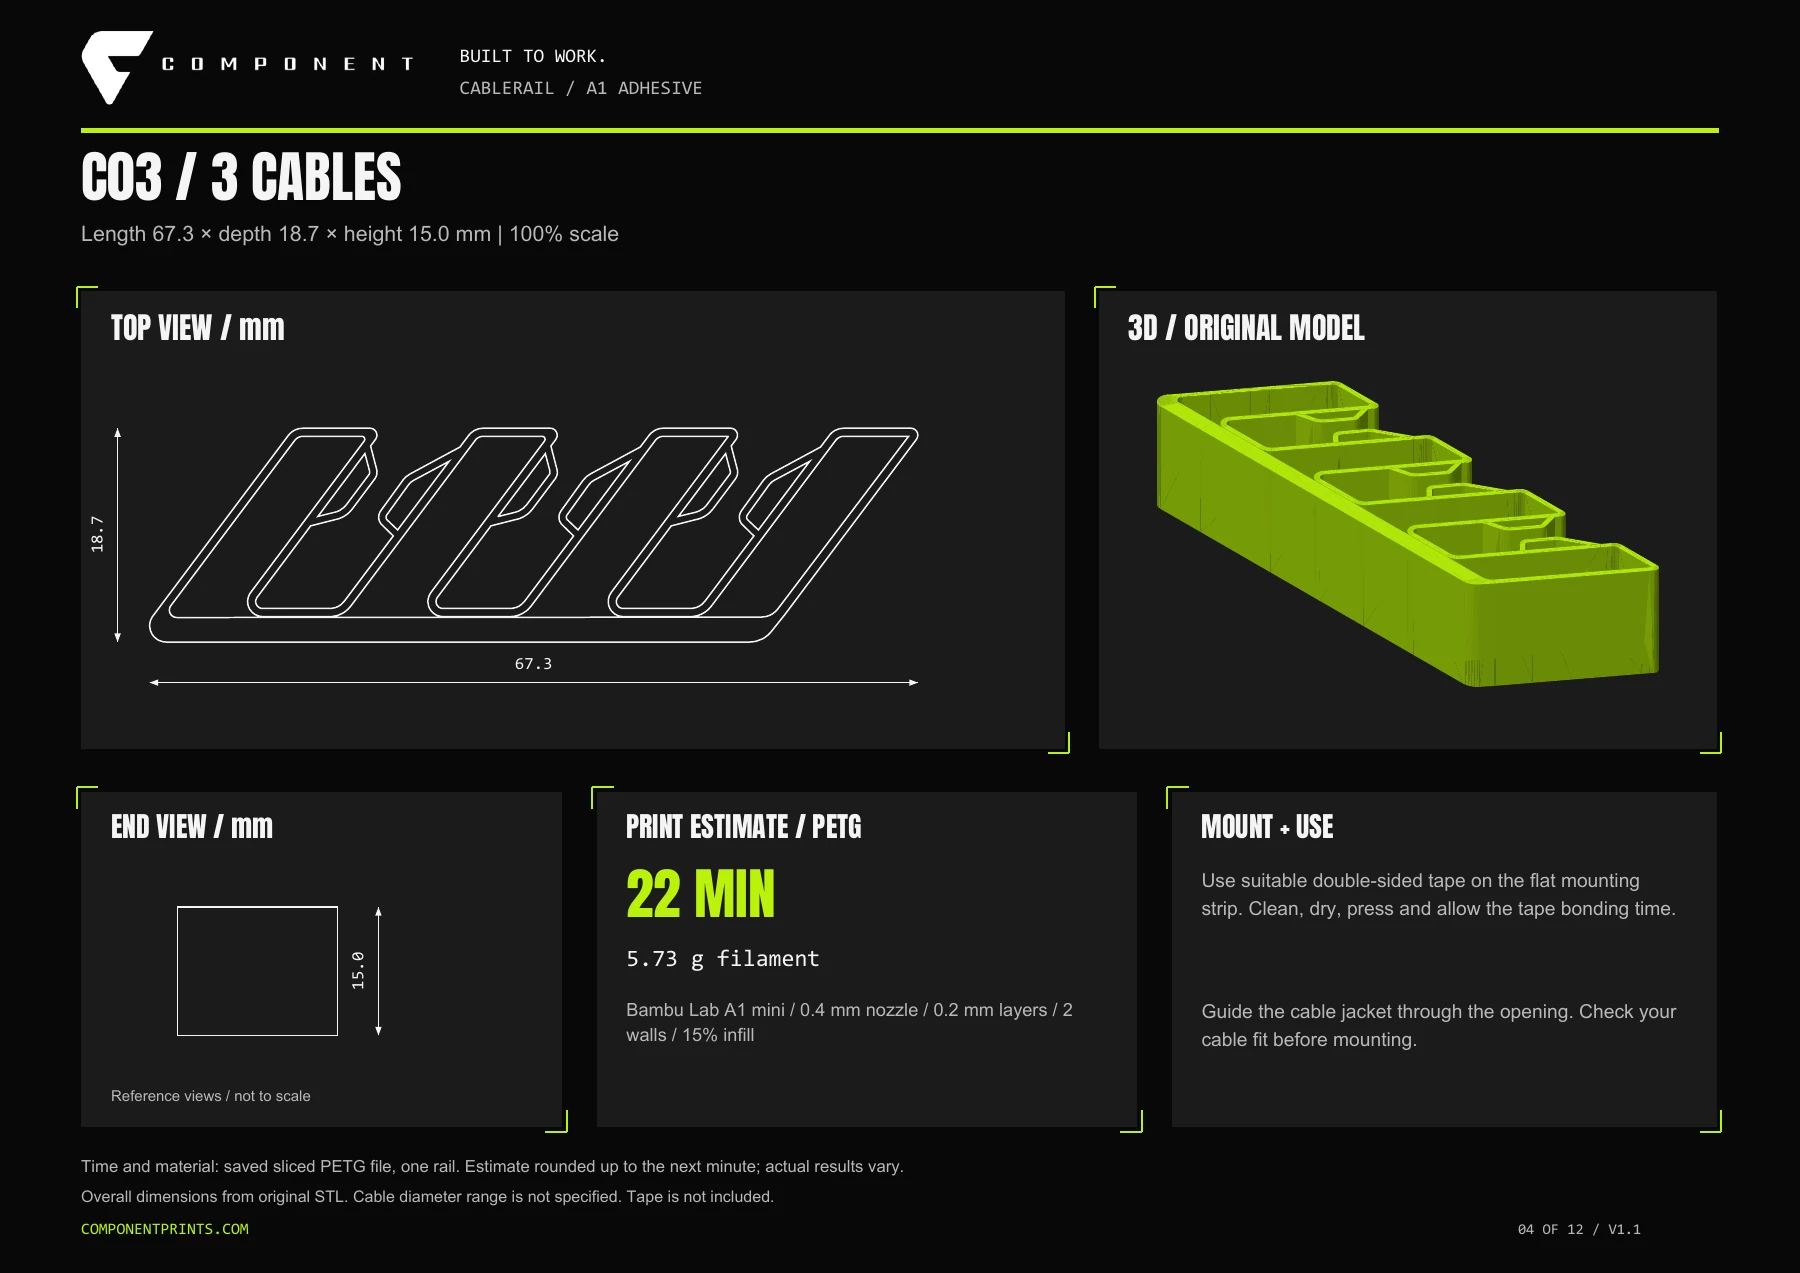
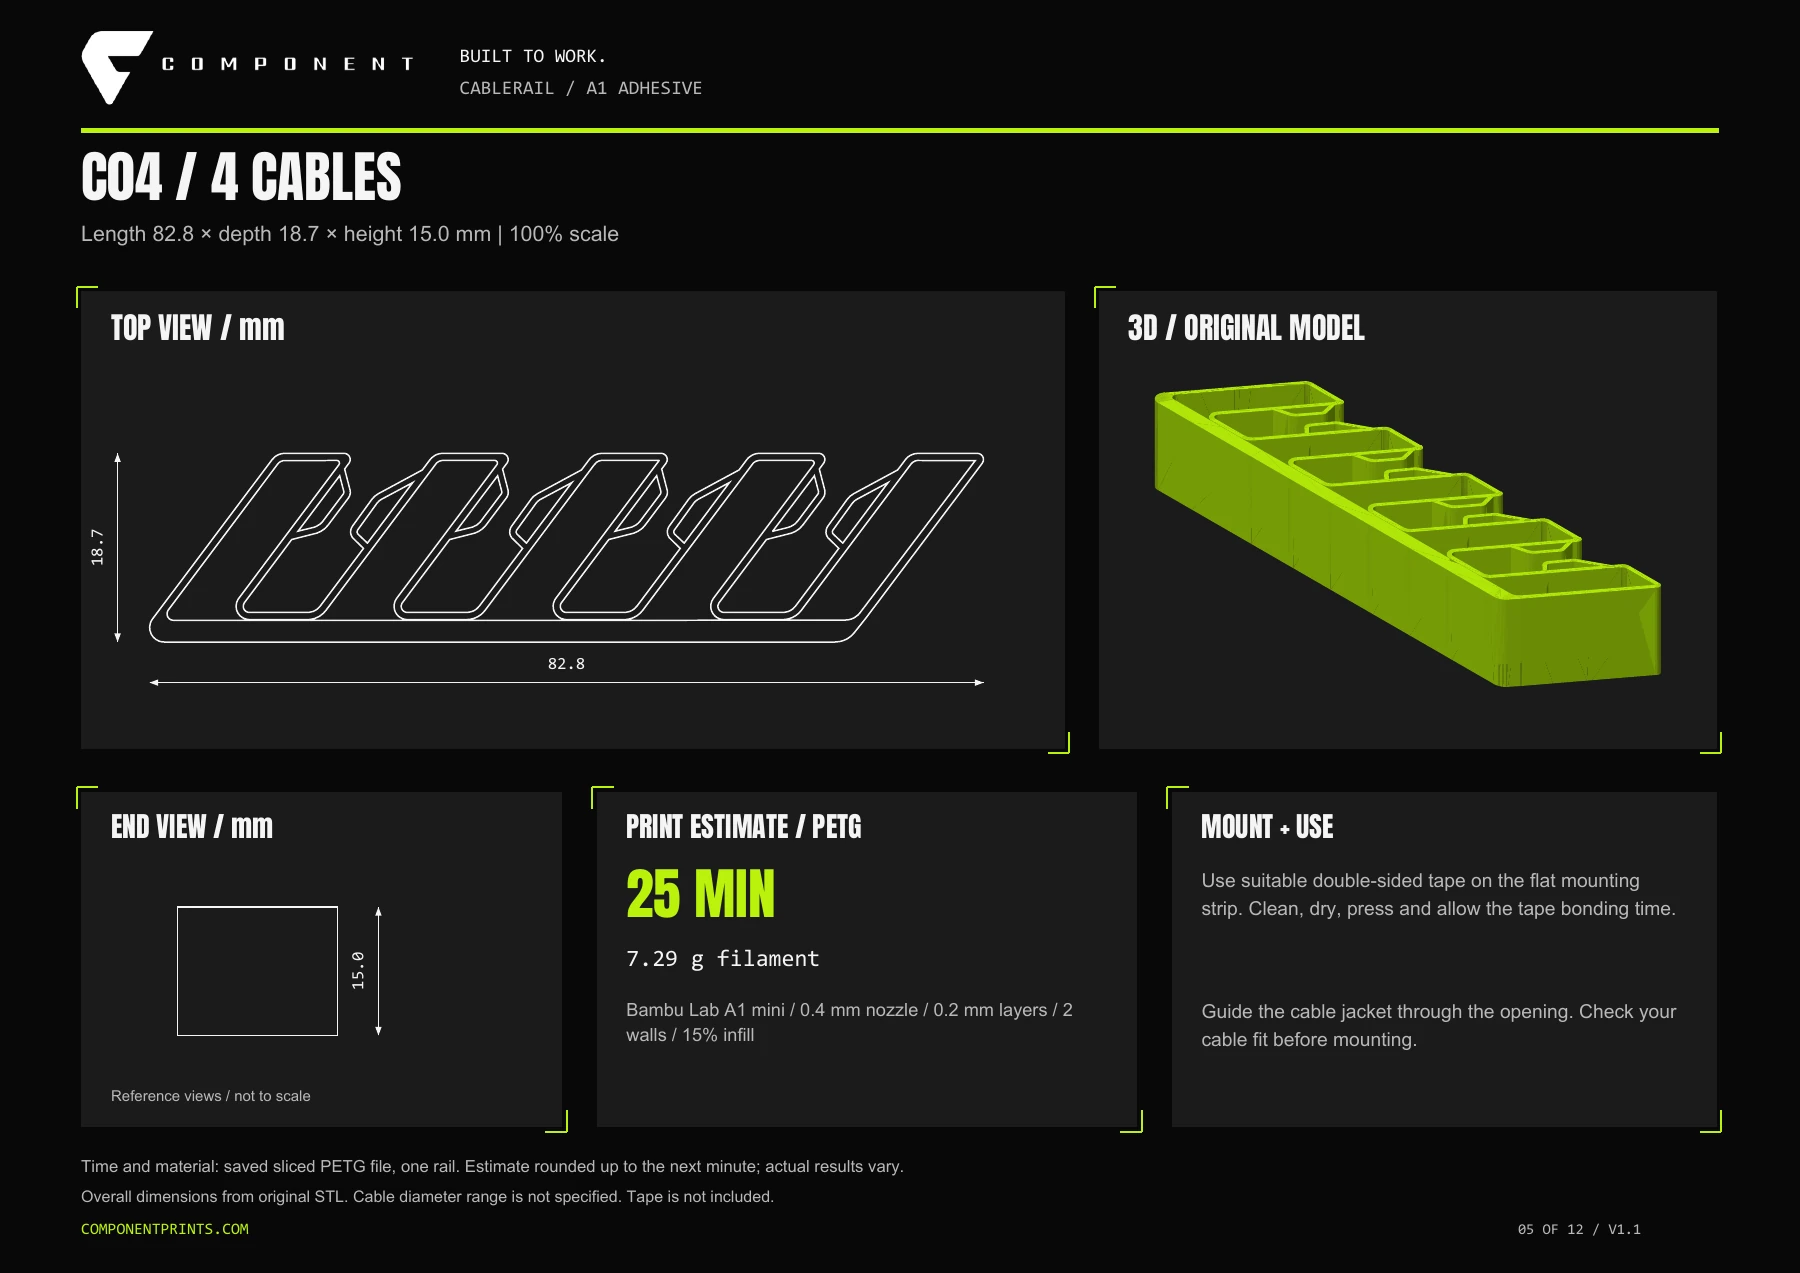
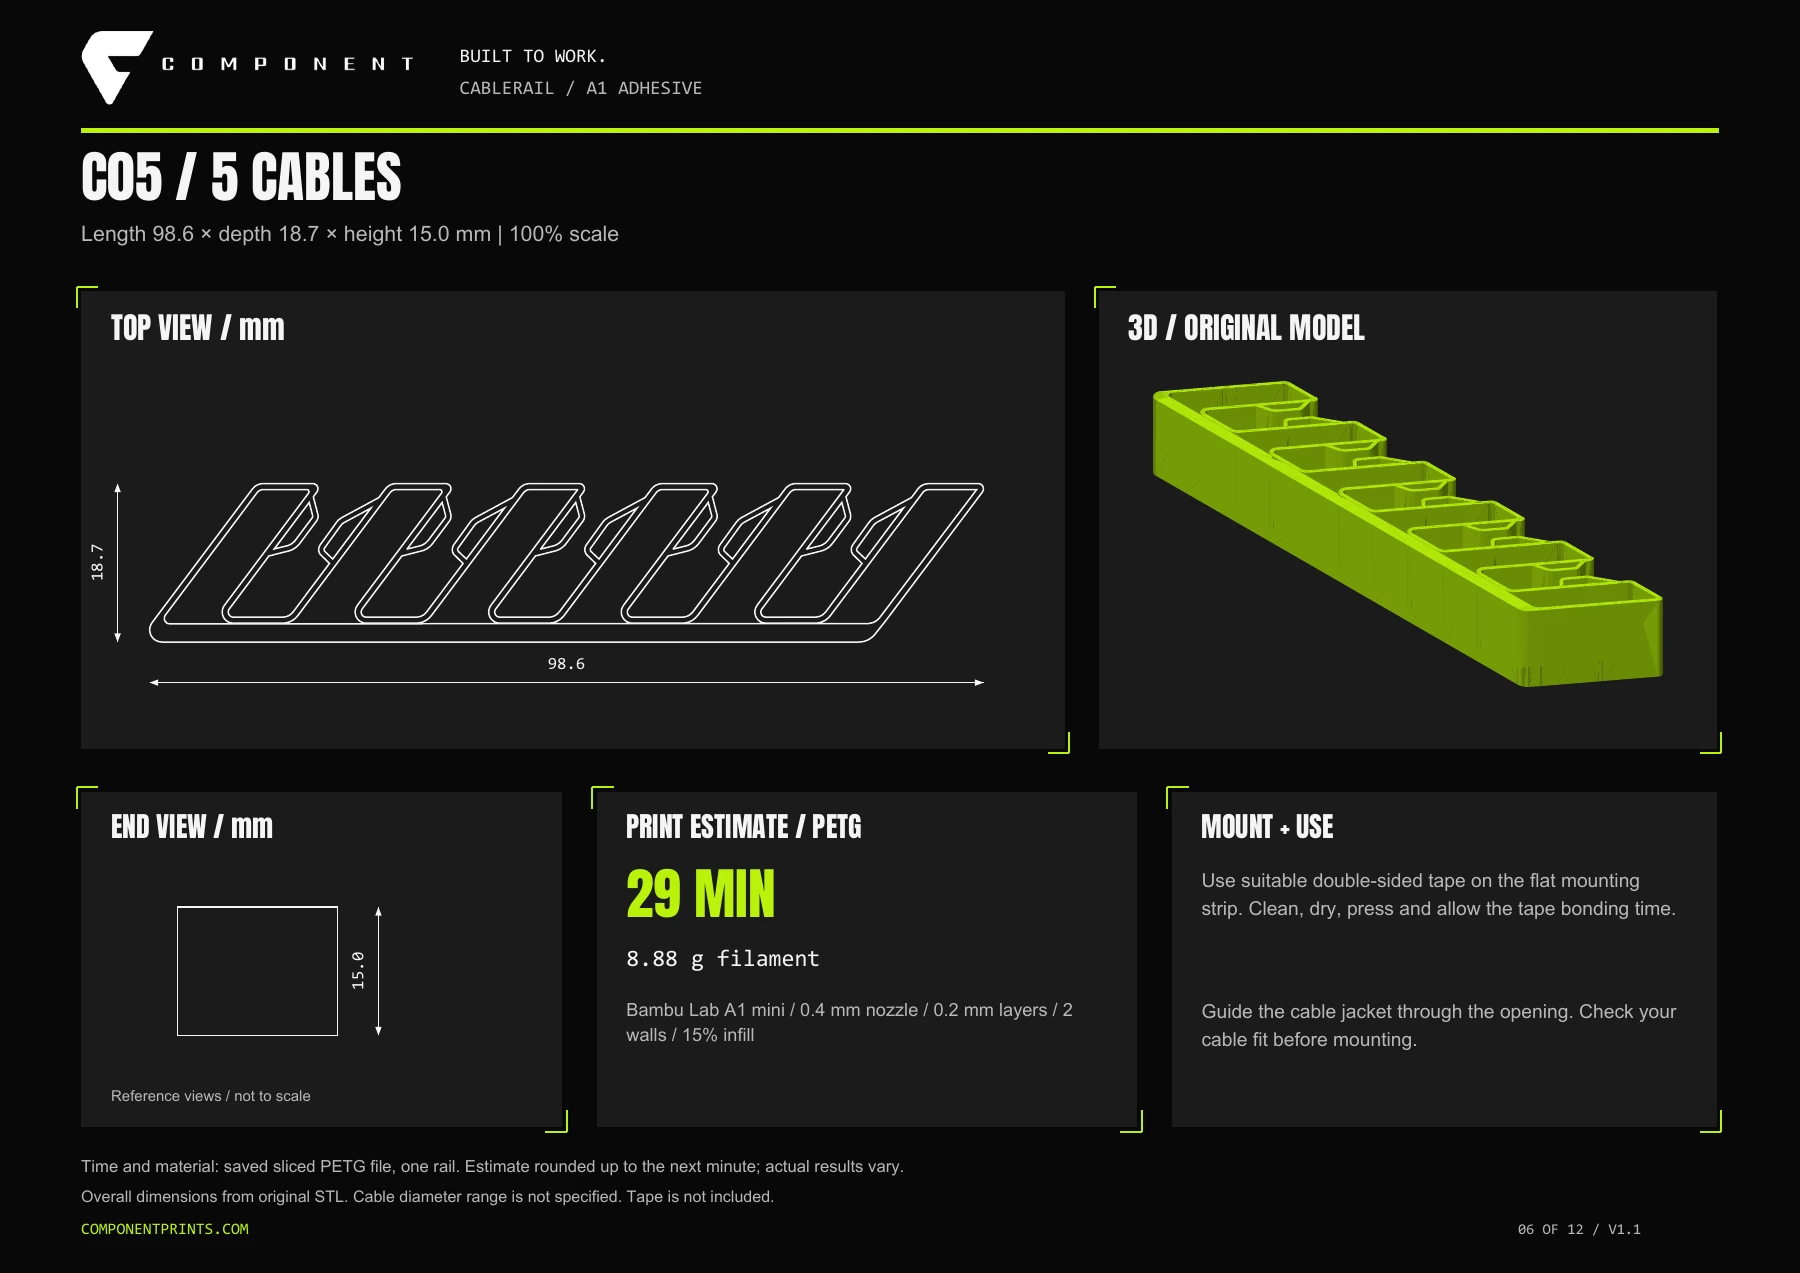
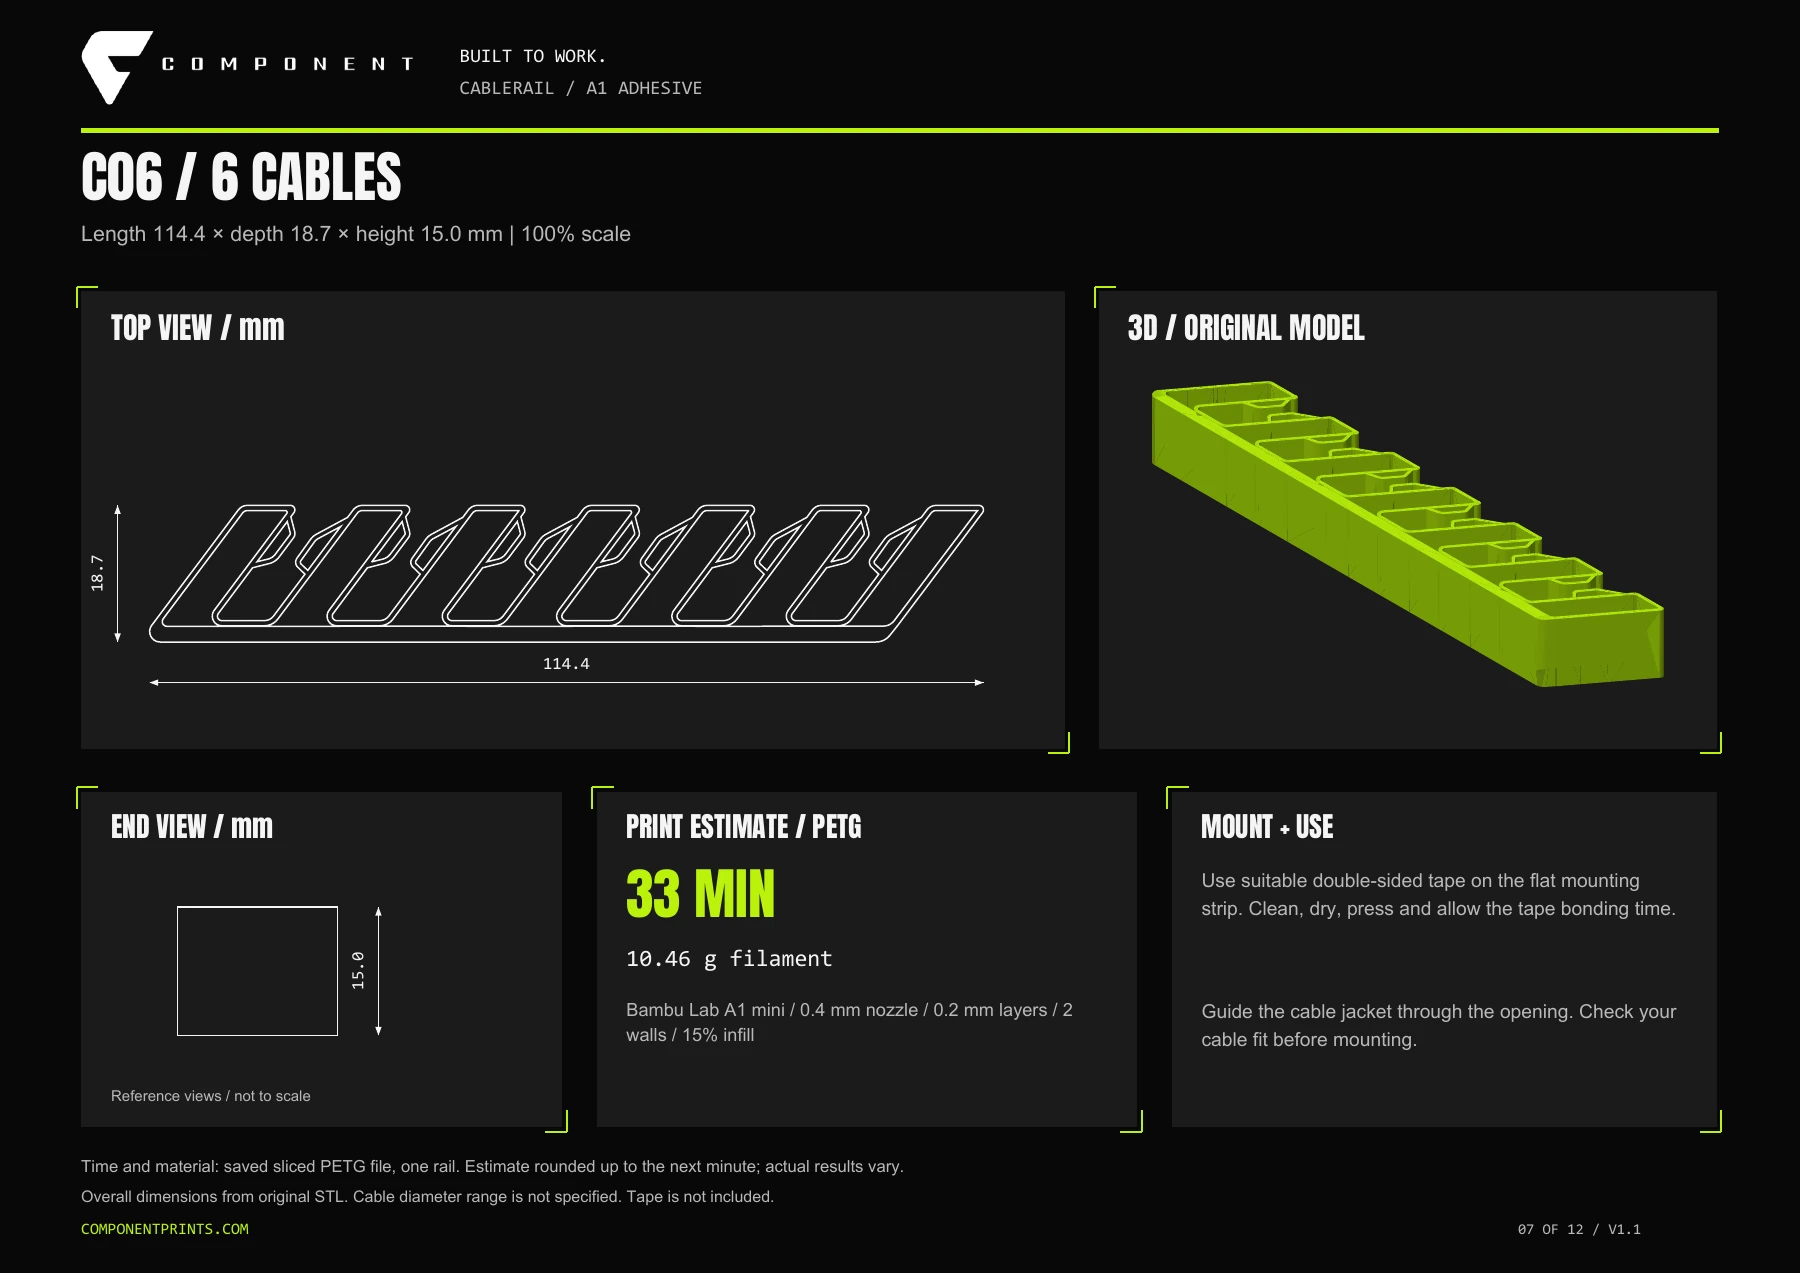
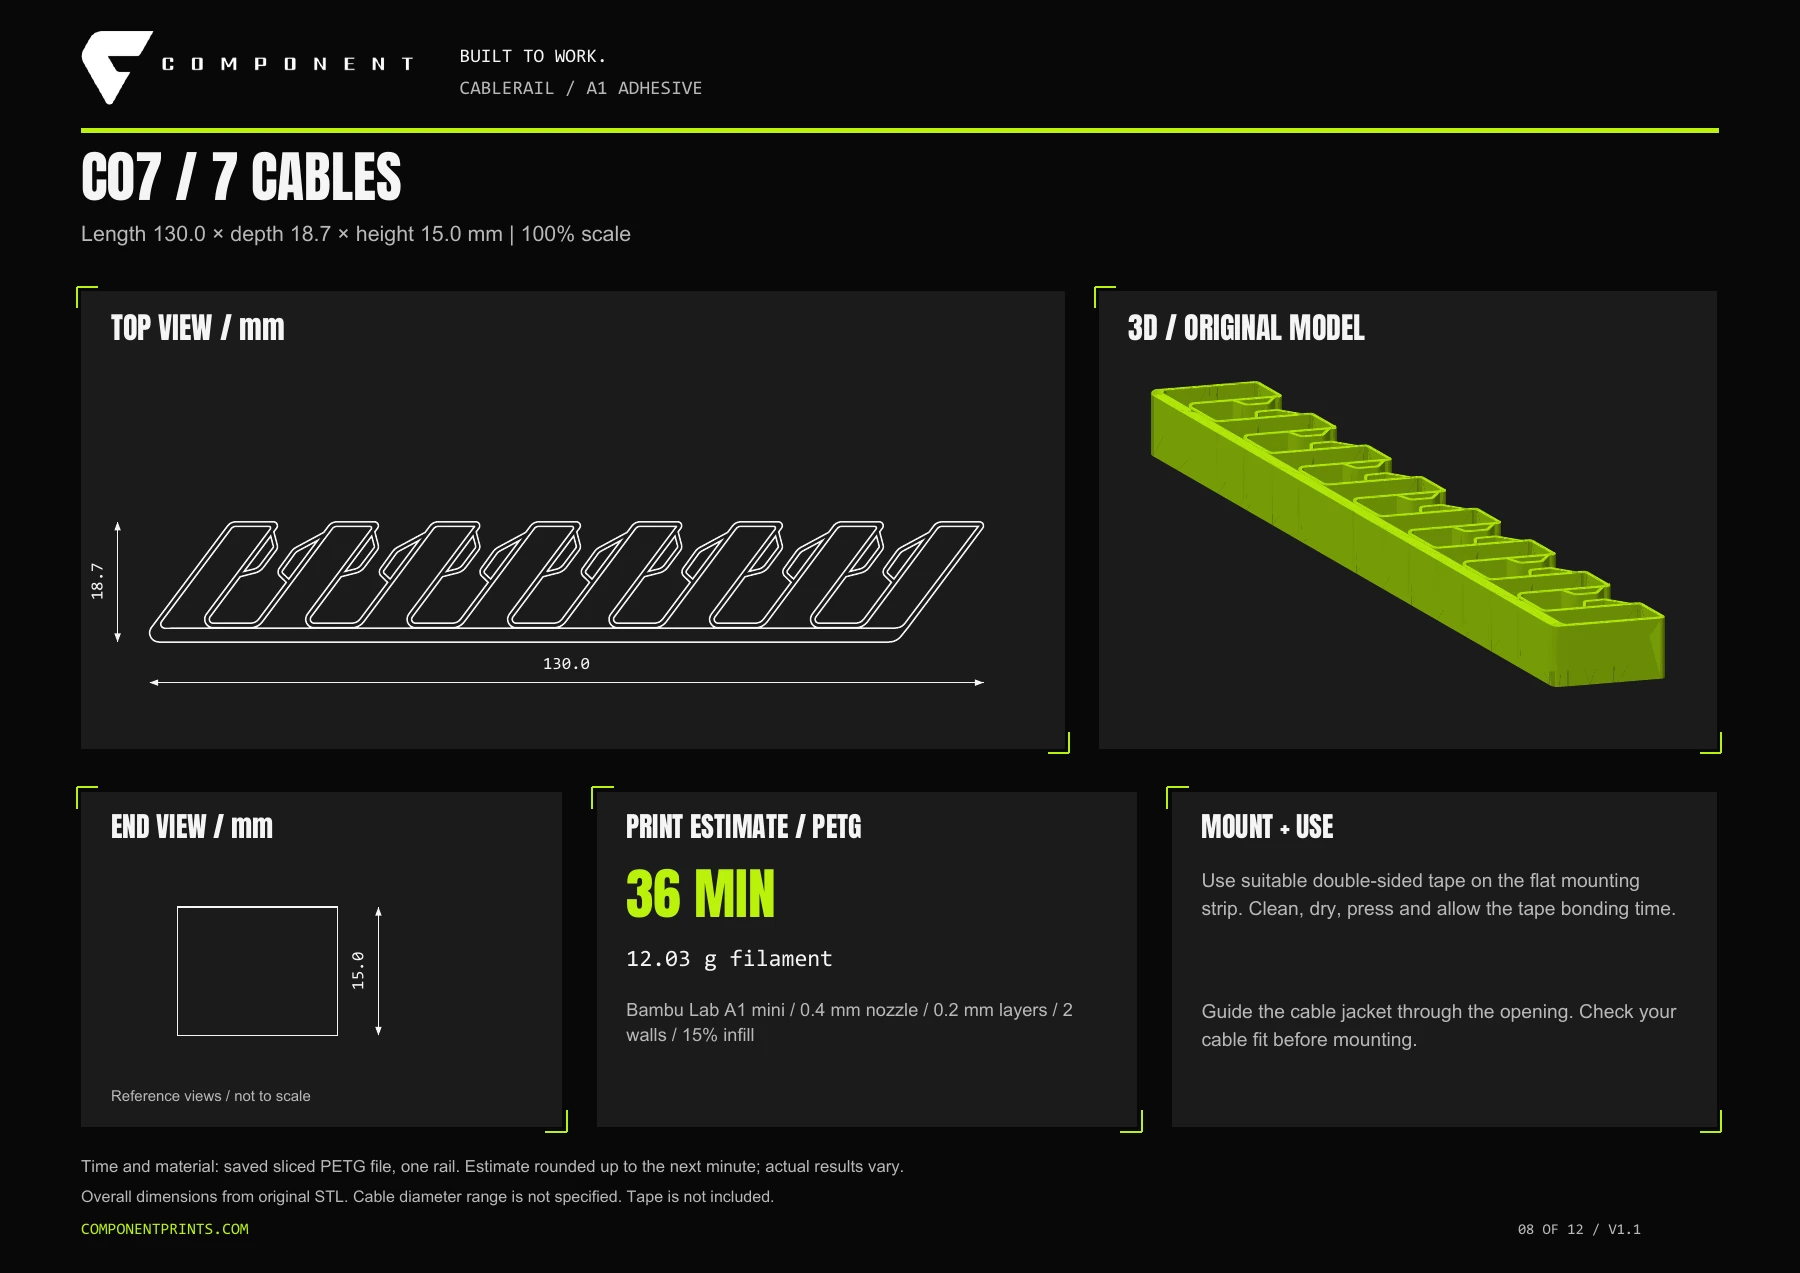
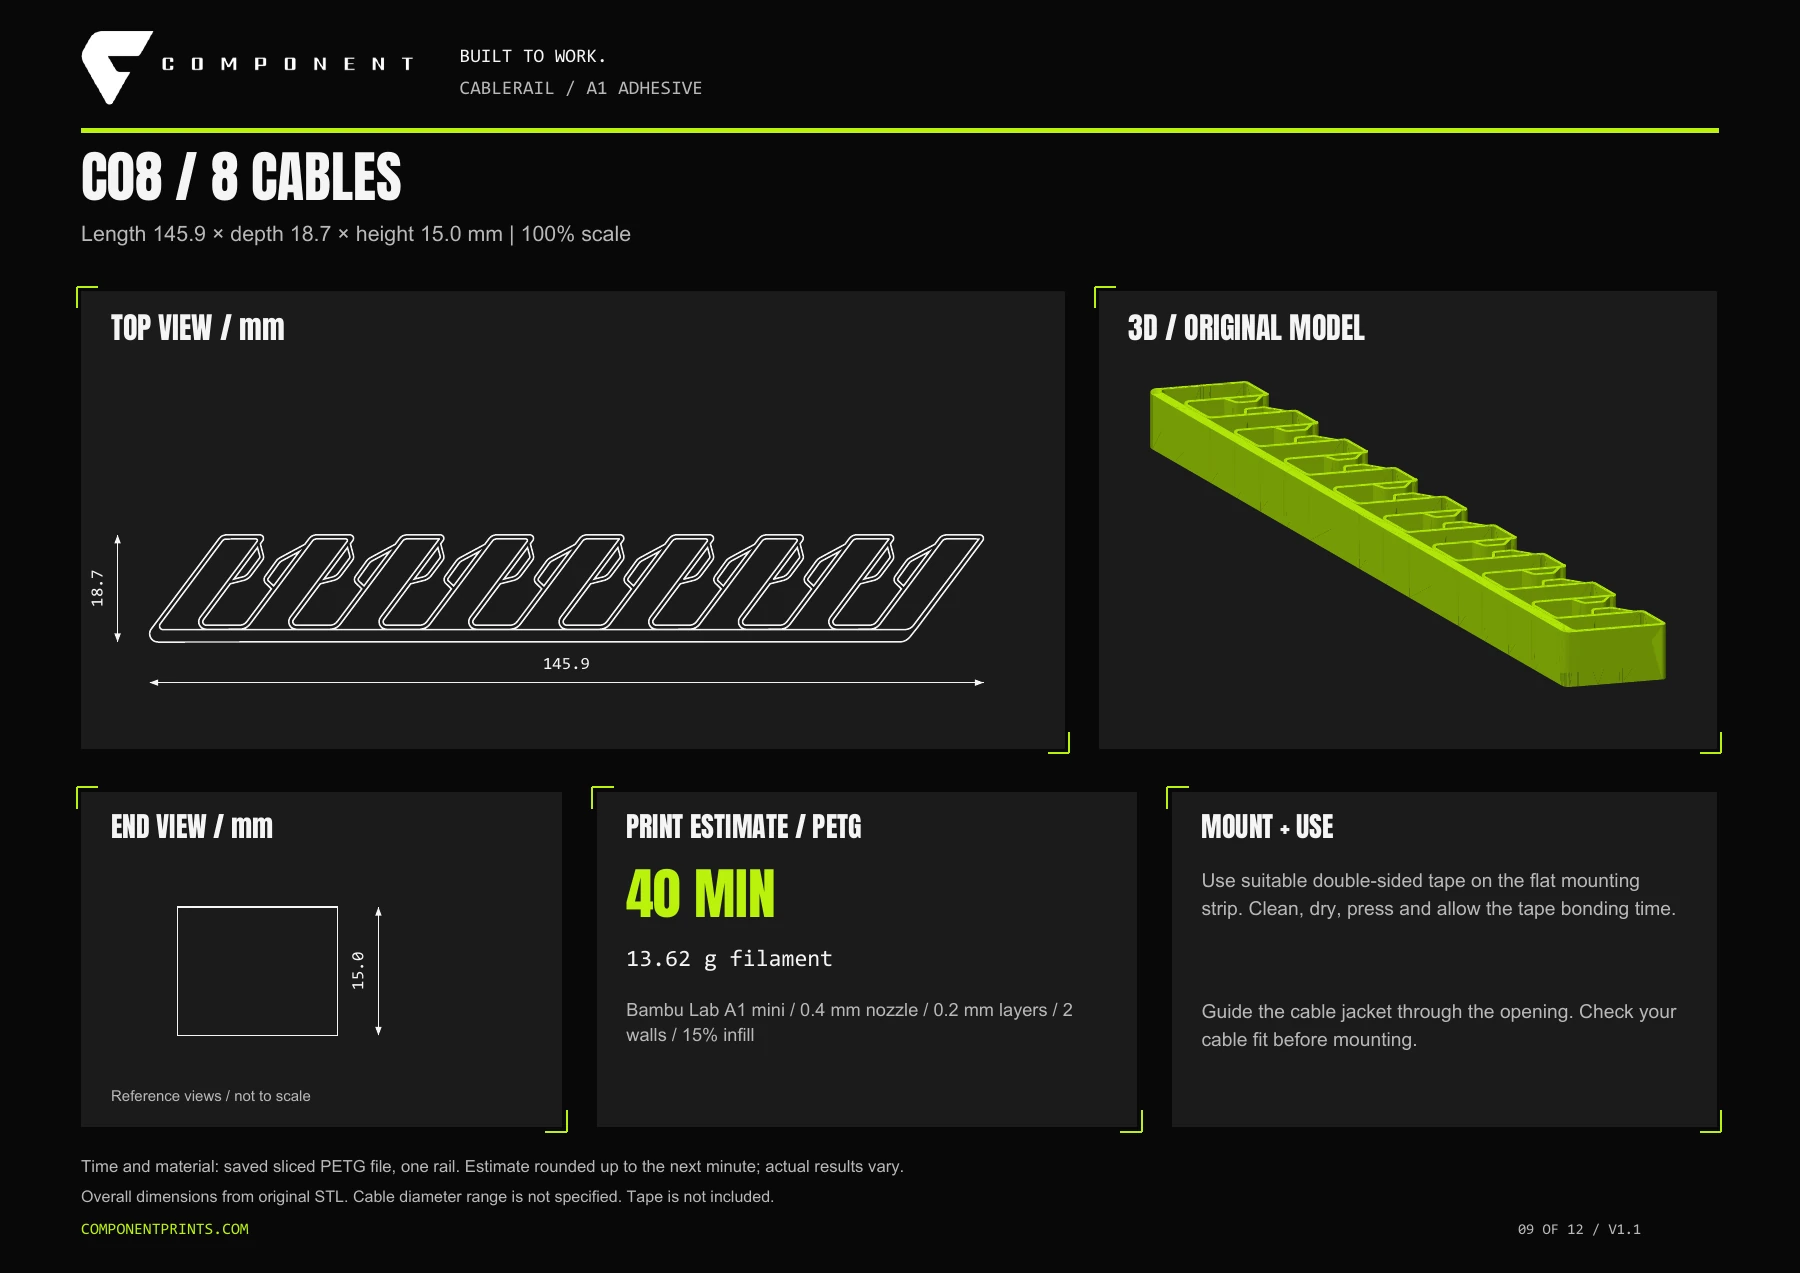
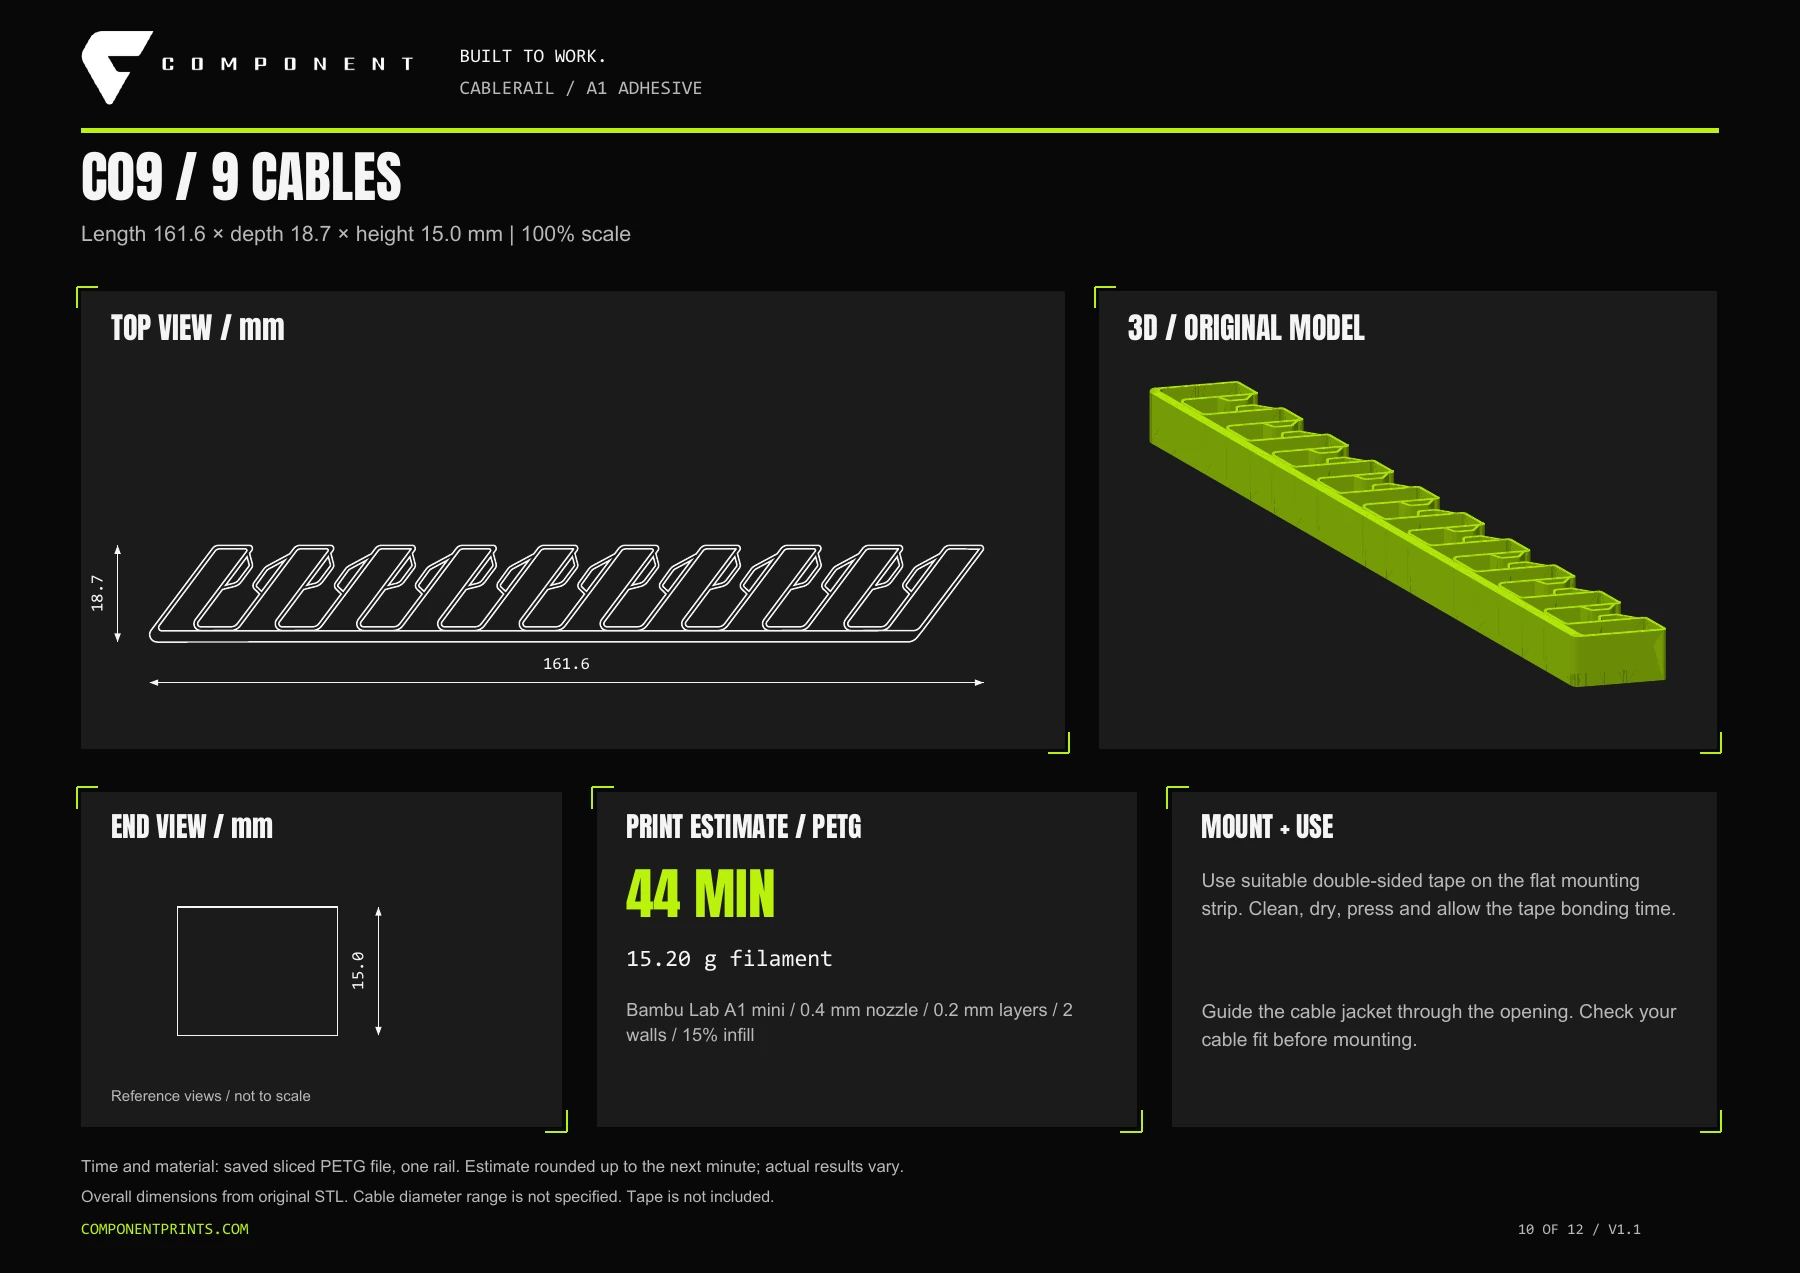
View on MakerWorldKeep charging leads at the edge of a desk, on a shelf or beside the bed, so their ends stay easy to find. Choose from C01 to C10 for one to ten cable positions. Clean a flat, stable mounting surface, attach the rail with suitable double-sided tape and press the cables into the slots. The full-set print profile includes separate rail sizes as well as a plate containing the complete set.
Adhesive tape is not included. This model is the A1 adhesive version. Use a flat, stable surface and check that your cables fit.
Open the model on MakerWorld, choose the version and check the current print instructions. Download there or open a compatible profile in Bambu Studio.
Digital design for 3D printing. No physical product is shipped. For commercial sales of physical prints, see the Component membership ↗.
CableRail A1 · Adhesive
One cable or a whole desk setup.
Slide to find your size.
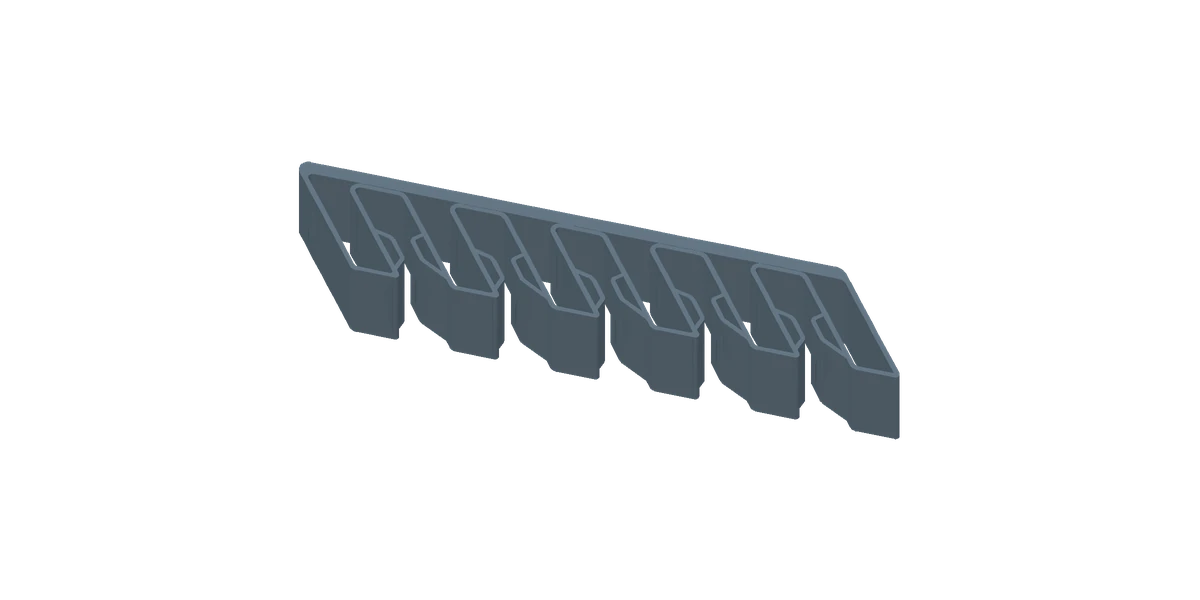
C01–C10. Choose your rail size in the print profiles on MakerWorld. Mount with suitable double-sided tape on a flat surface.
Field manual / CableRail
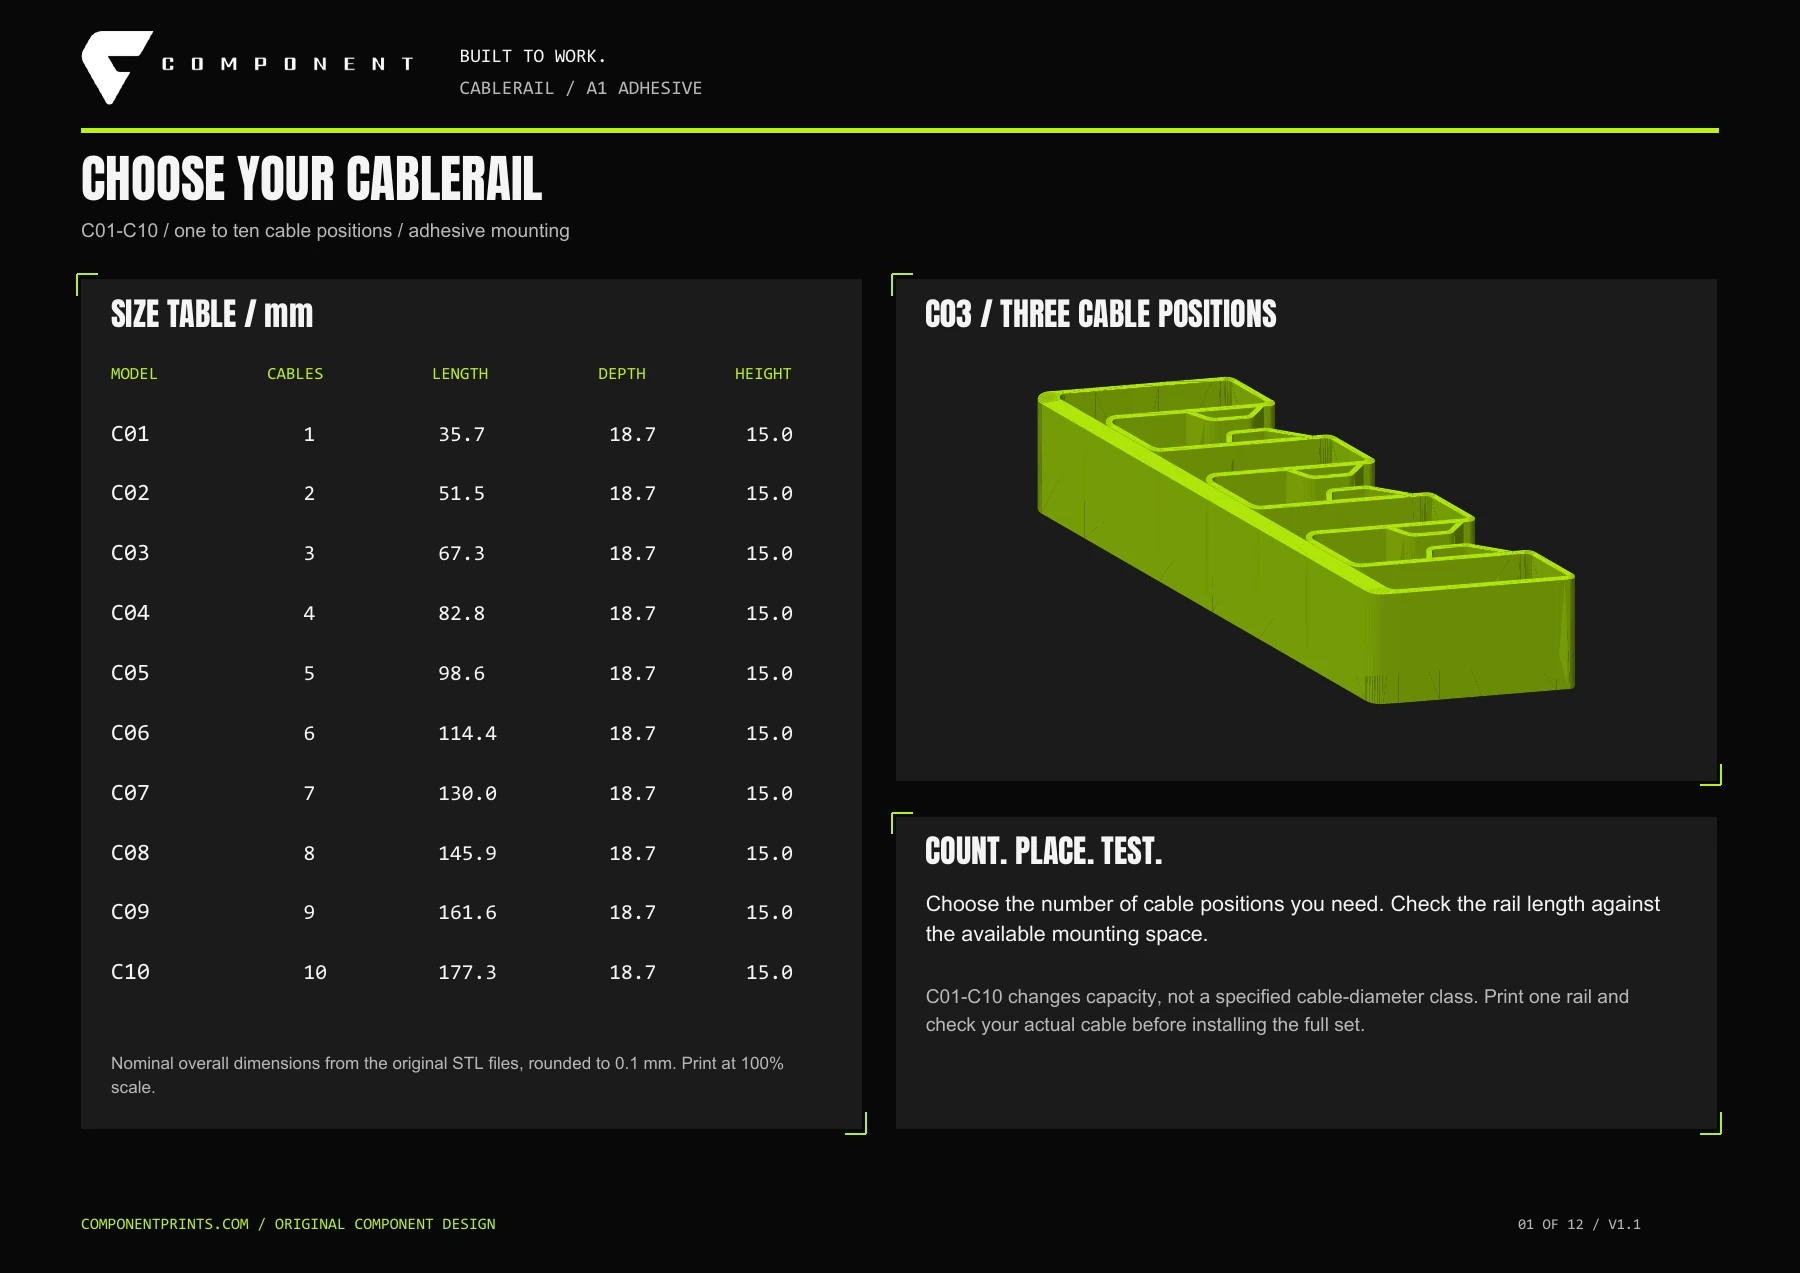
Choose the number of cable positions using the guide.
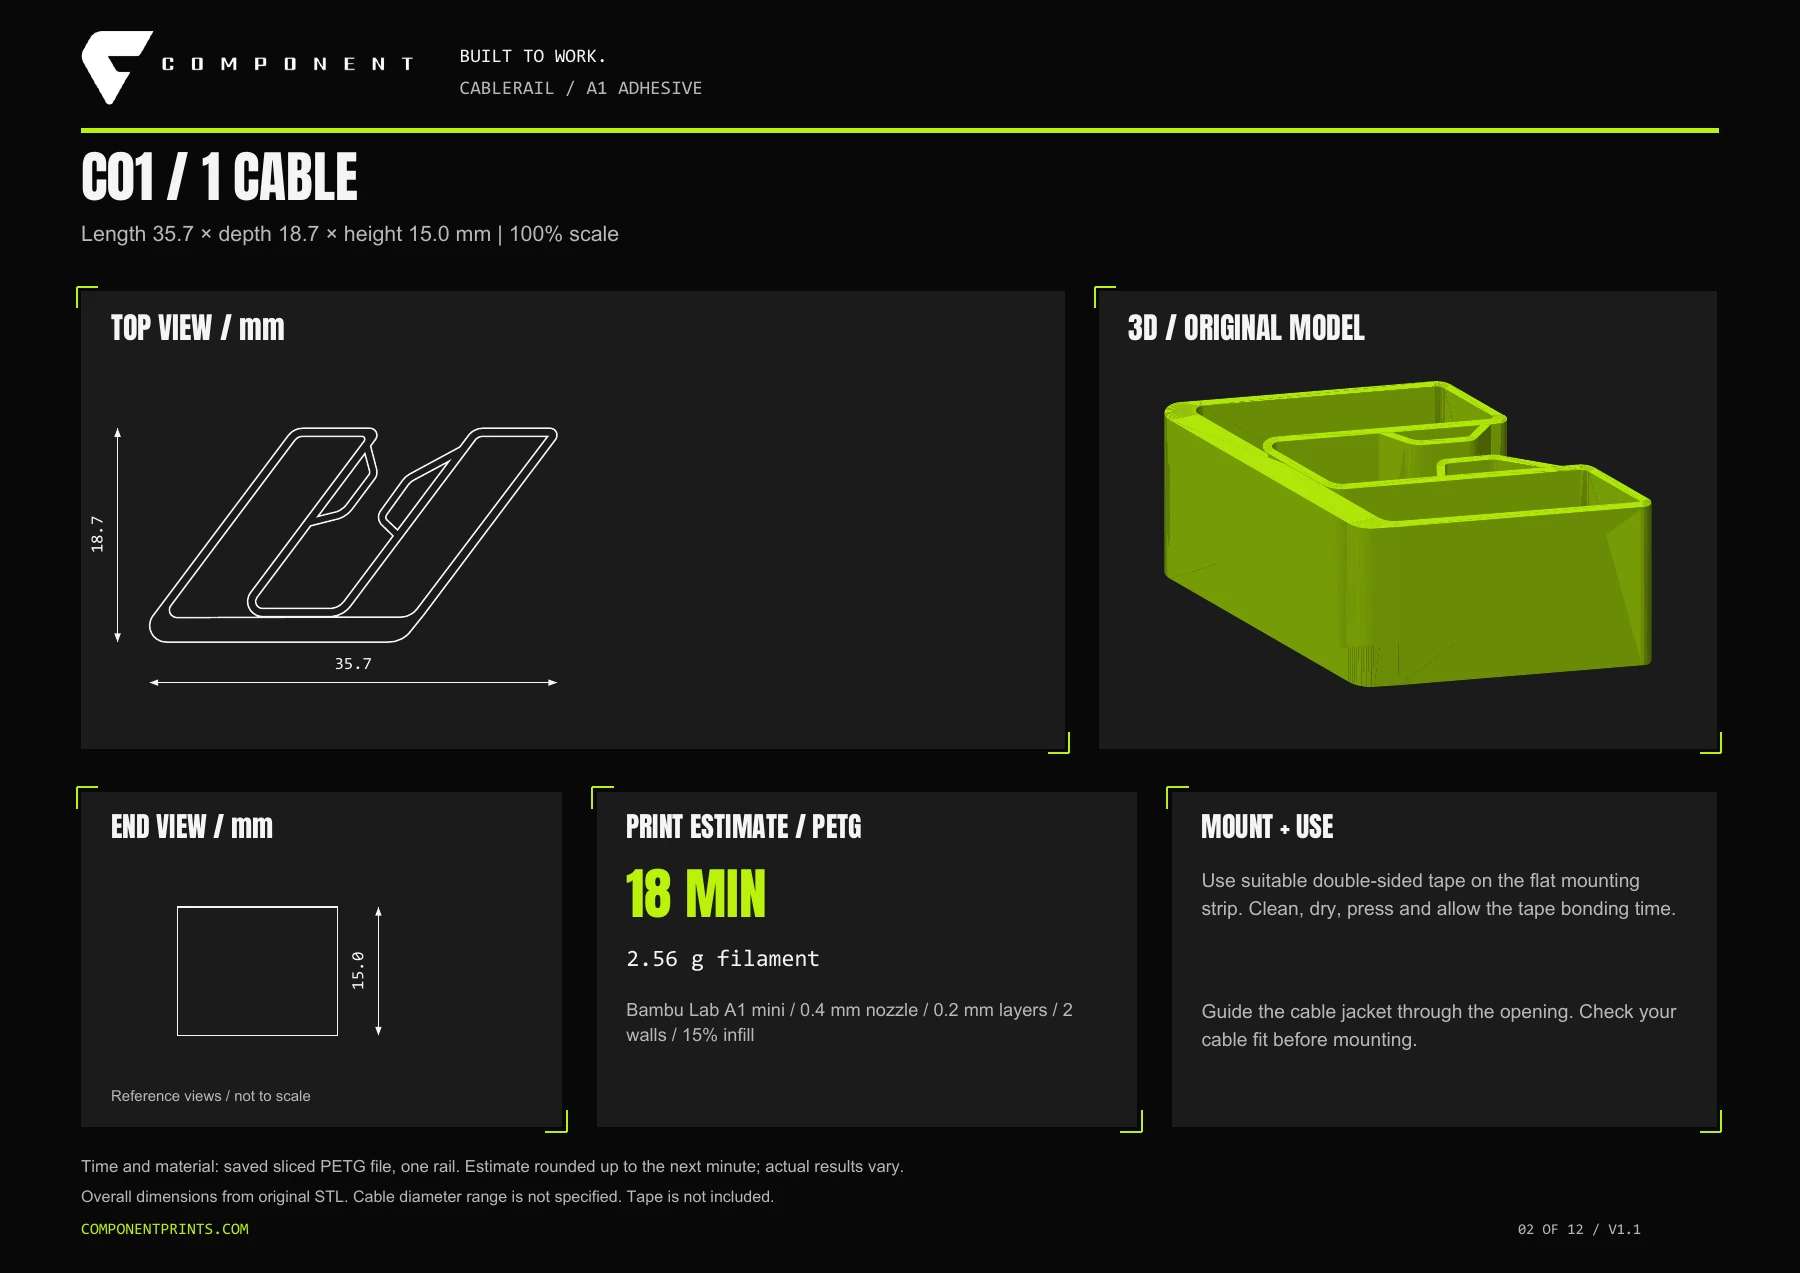
Prepare a clean, dry mounting surface and follow the adhesive instructions before routing cables.
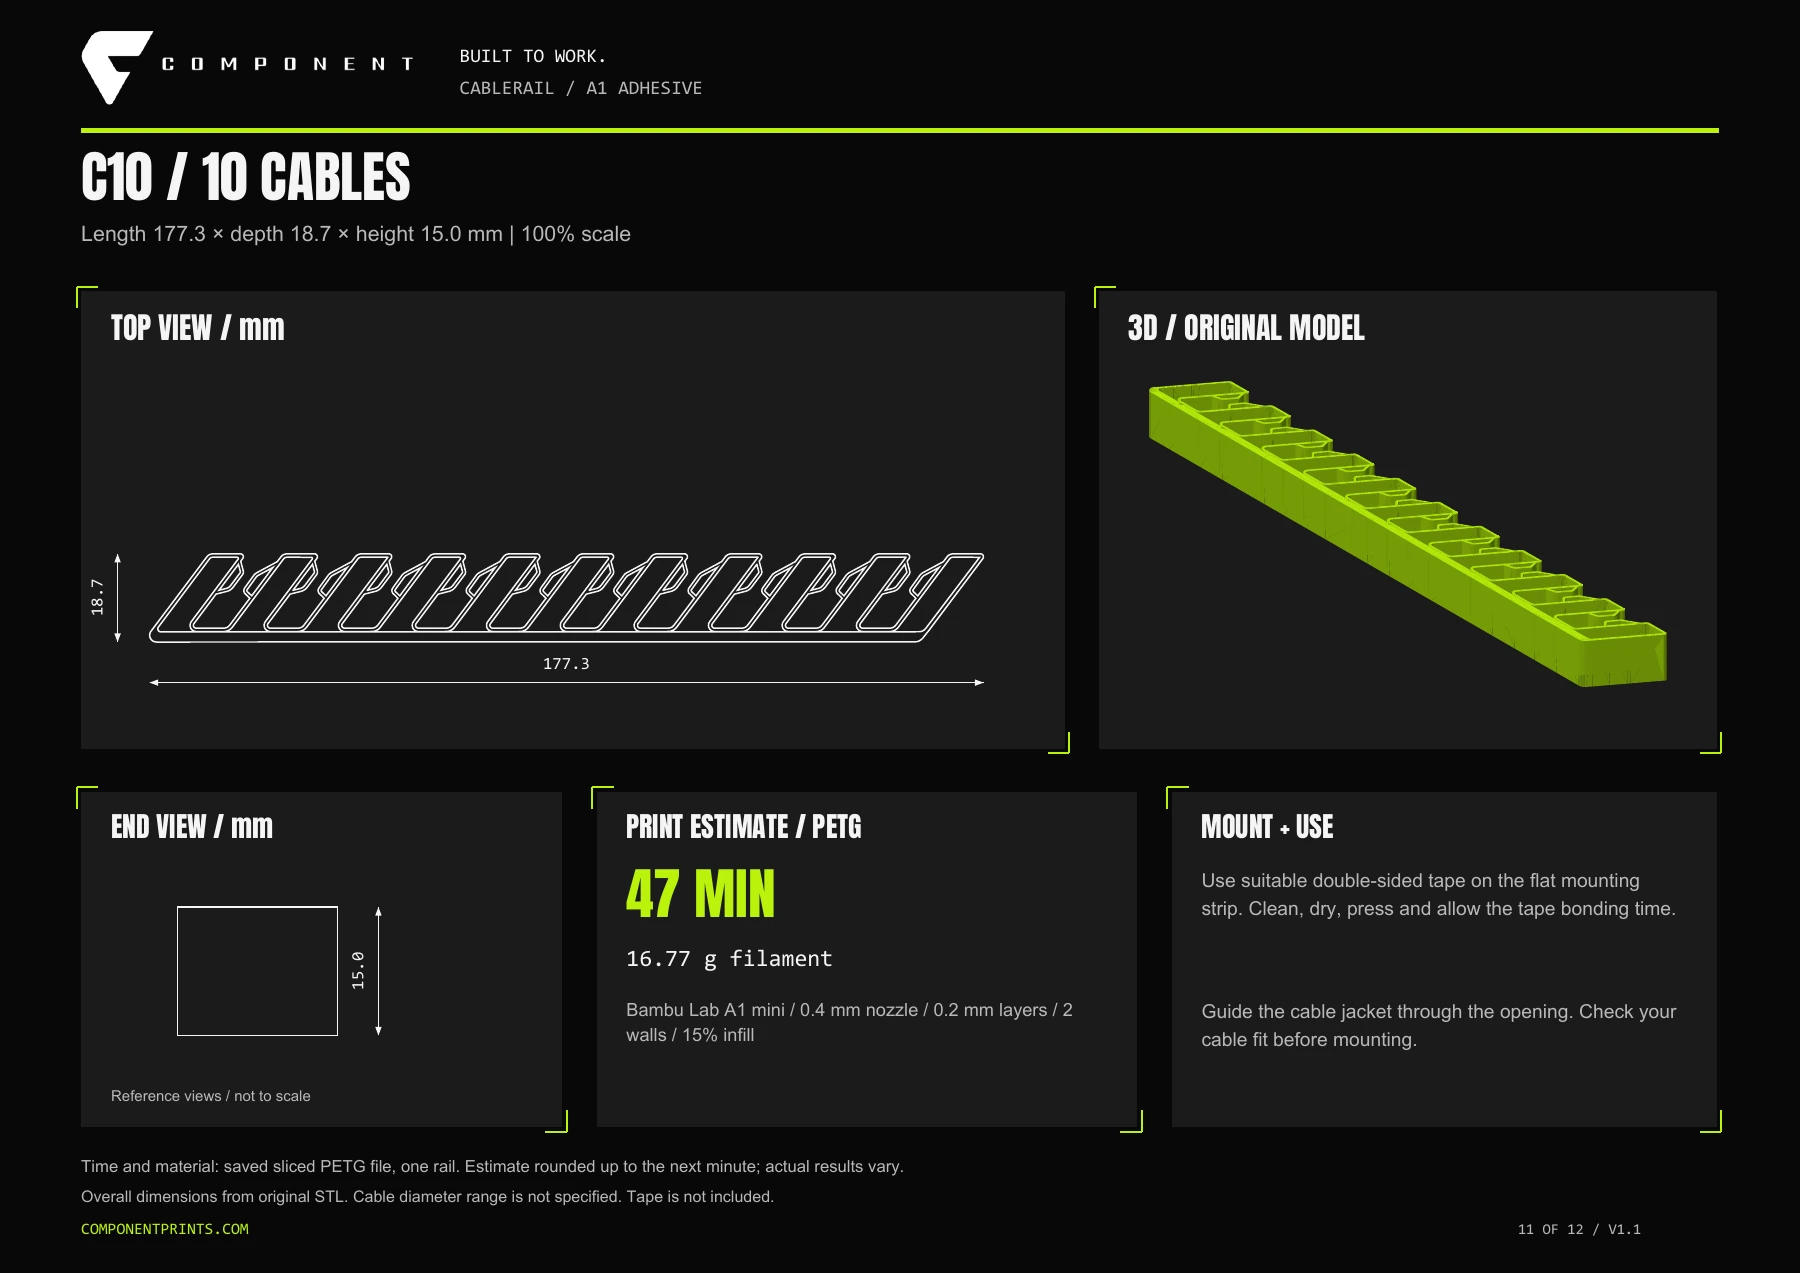
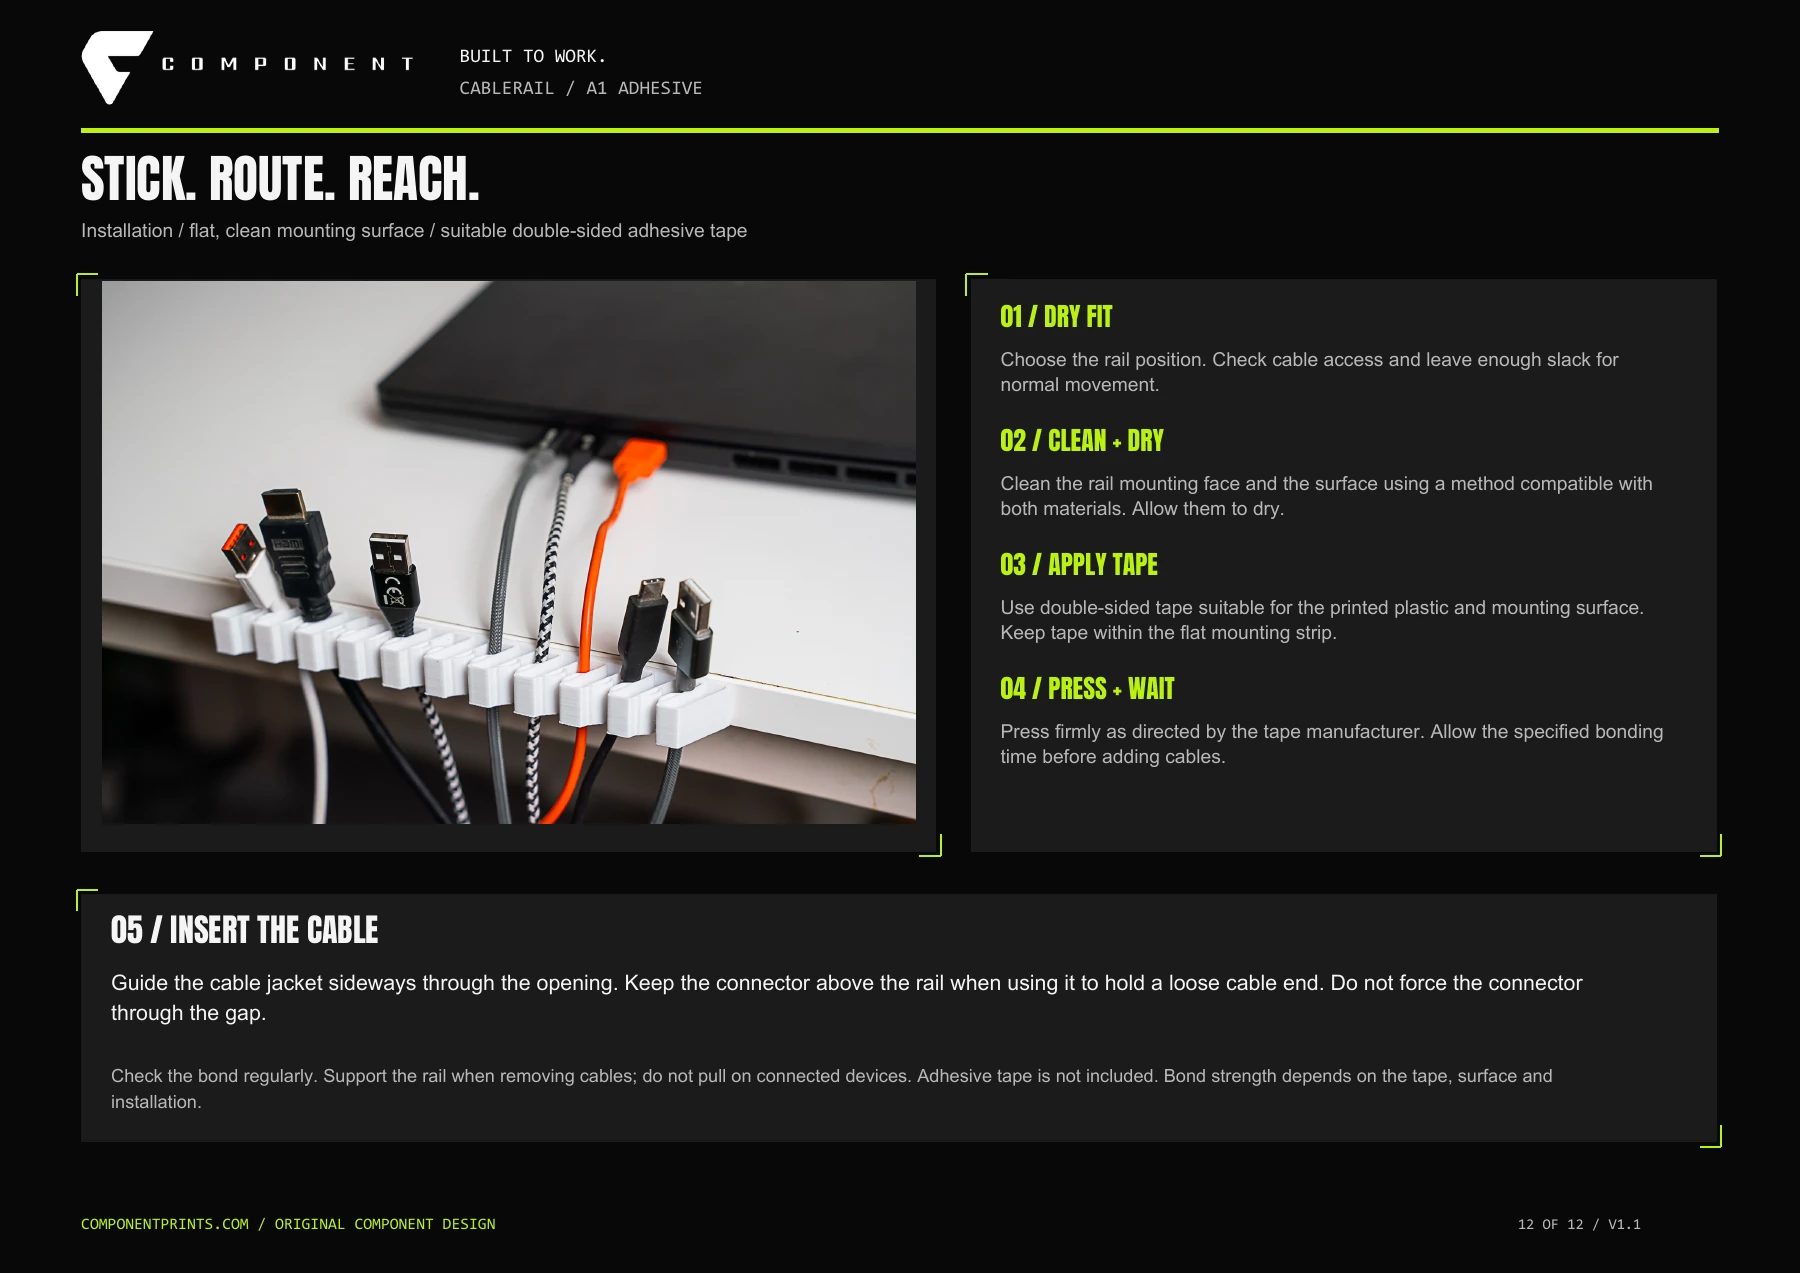
01 / 12

DeskRibbed desk holder
Give your phone a place on the desk. A ribbed stand for everyday hands-free viewing.
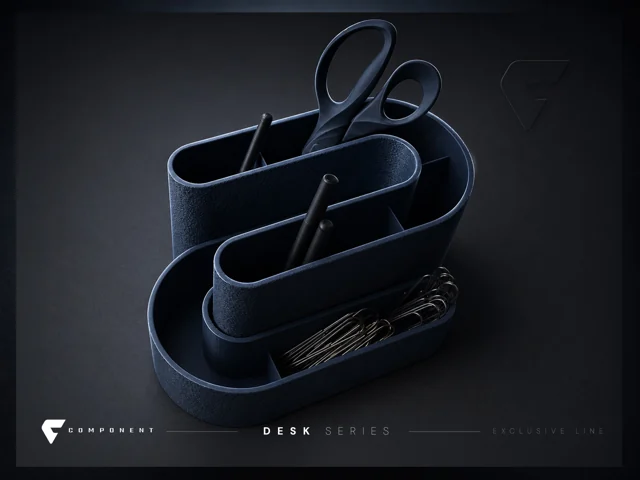
DeskCurved caddy
Pens, scissors and small tools, together. A full-size caddy with a curved, open layout.
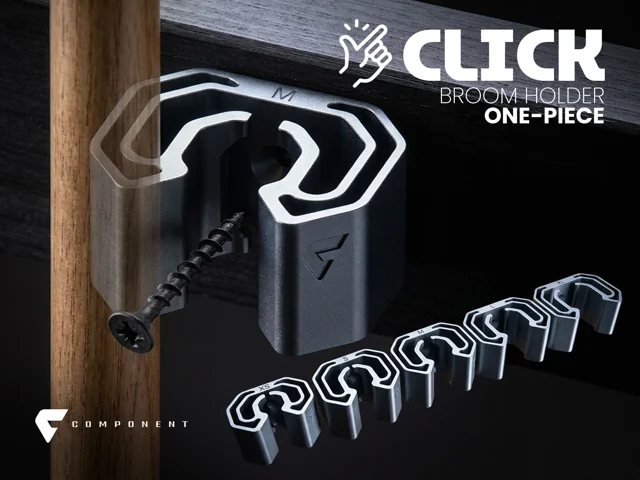
WorkshopOriginal · V1
A place for every handle. A one-piece wall mount for brooms, mops and round-handled tools.